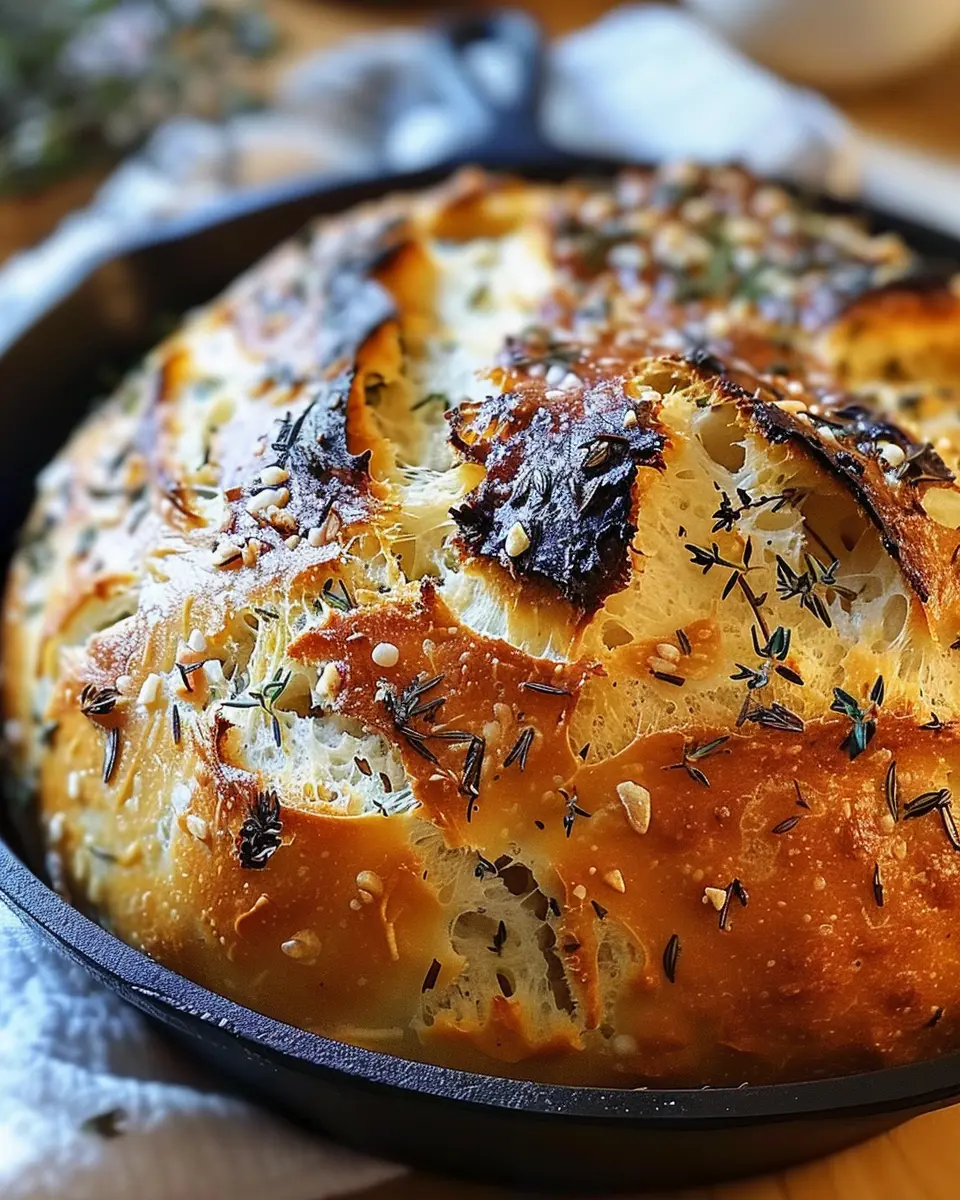
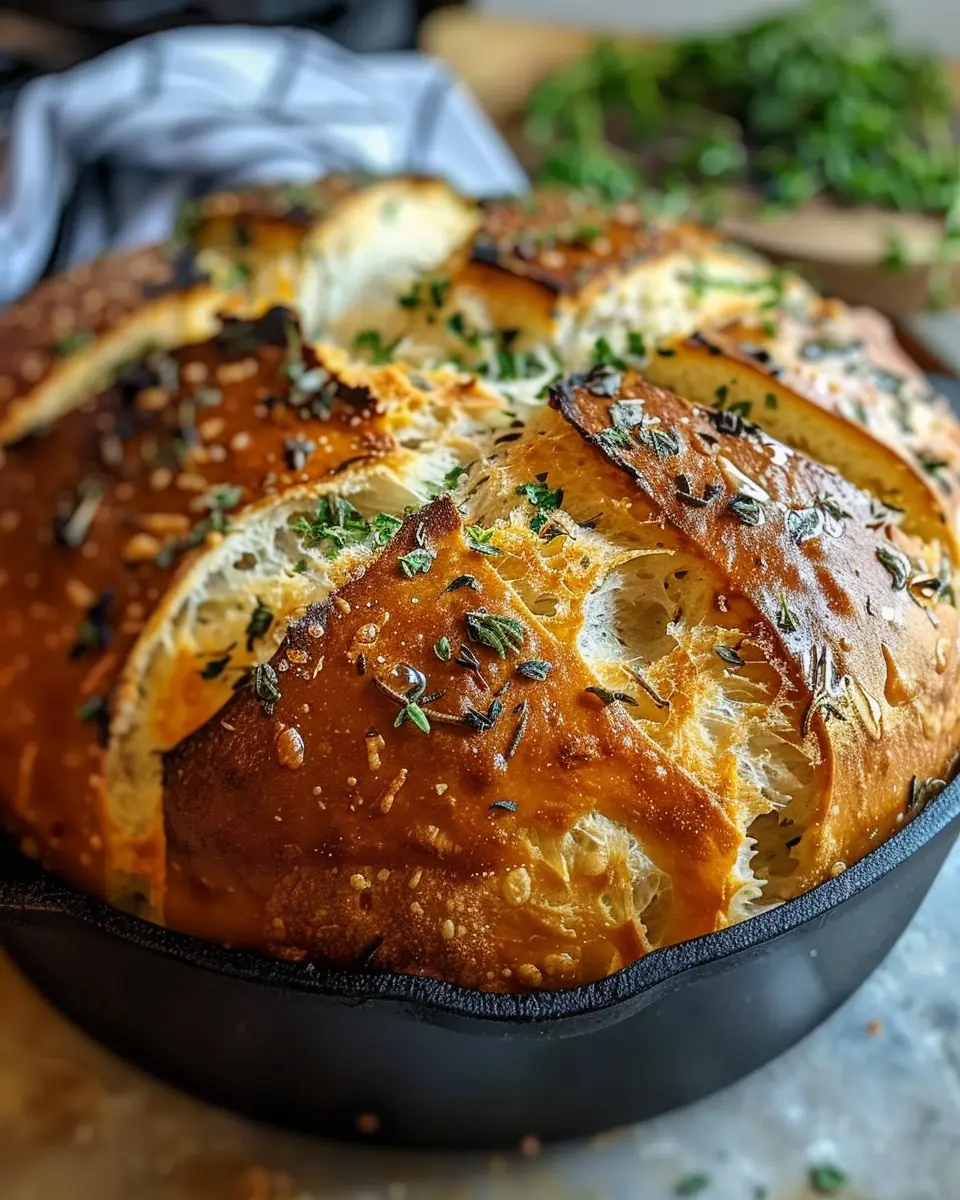
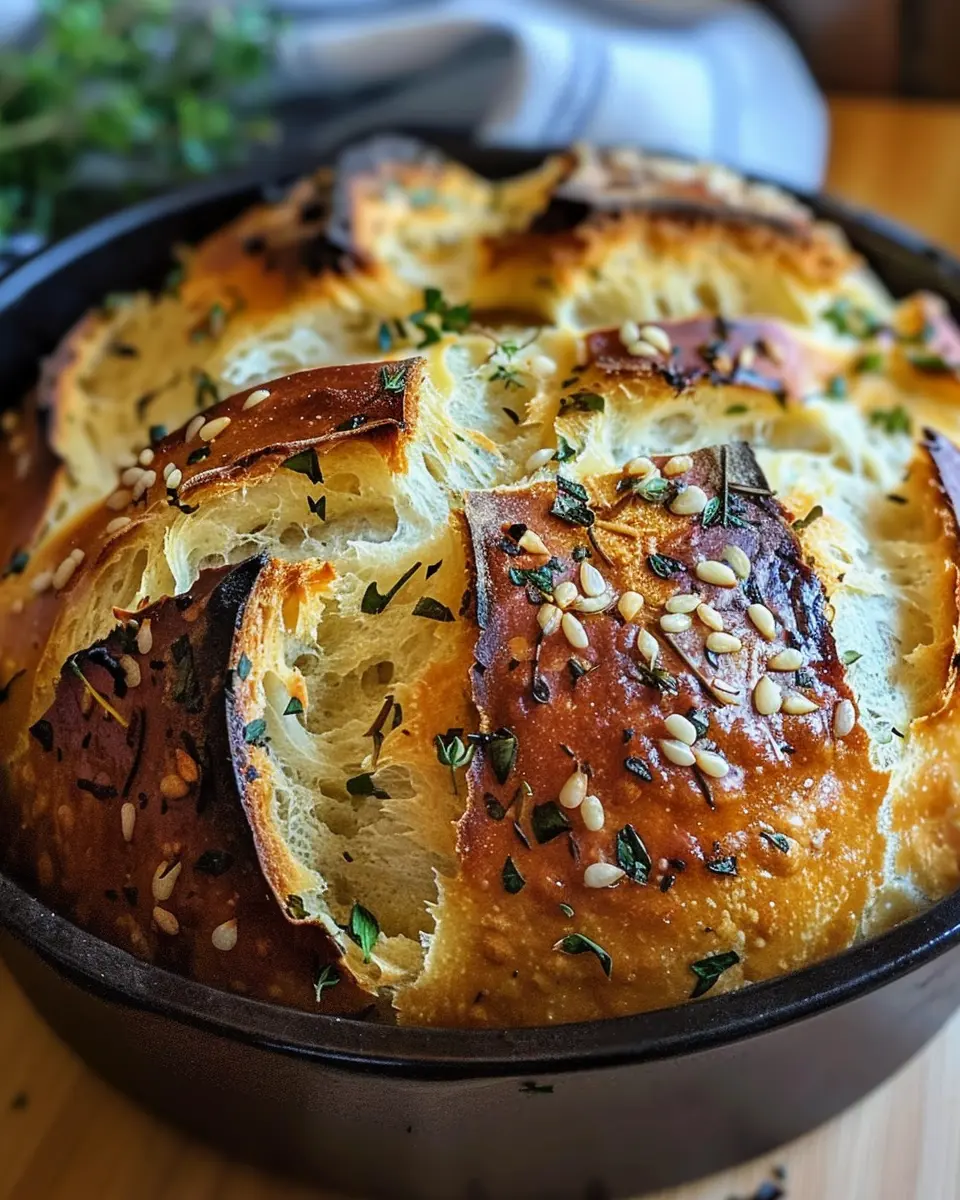
Introduction to Garlic Herb Dutch Oven Bread
When it comes to cooking at home, nothing is more rewarding than pulling a freshly baked loaf of homemade bread out of the oven, especially when it’s a delightful garlic herb Dutch oven bread. If you’re a young professional juggling a busy schedule, you might be thinking, “Do I really have time for that?” The answer is a resounding yes! Let’s explore why baking bread can be a game-changer for you.
Why Homemade Bread is a Game-Changer for Young Professionals
In today’s fast-paced world, many young professionals turn to takeout and quick fixes. But imagine coming home after a long day and having the intoxicating aroma of homemade bread welcoming you. Studies show that cooking at home can improve your mental well-being, and what better way to start than with a simple baking project?
-
Healthier Choices: When you make your own bread, you control the ingredients. Skip the preservatives and artificial flavors often found in store-bought options. Instead, opt for wholesome ingredients that fit your dietary needs.
-
Budget-Friendly: Craving something delicious? Homemade bread is often far less expensive than buying fresh loaves or fancy artisan breads. Investing a little time in the kitchen can save you money, especially if you entertain.
-
Creative Outlet: Baking can be therapeutic. The tactile process of kneading dough can help relieve stress. Plus, with variations like adding garlic and herbs, you have room to get creative with flavors. Try experimenting with different herbs to create a loaf that’s uniquely yours!
-
Social Connections: Imagine hosting a casual get-together and serving up slices of warm garlic herb Dutch oven bread. It’s a fantastic conversation starter. Sharing freshly baked bread is a gesture that brings people together, making it perfect for gatherings or just a cozy night in.
If you’re curious about the science behind bread making, the Bread Lab offers great insights into fermentation and flavor development—perfect for the ambitious bakers out there.
Embrace the joy of baking, and transform your dinner table with this garlic herb Dutch oven bread. Your future self will thank you for those delightful moments of home-cooked bliss!
Ingredients for Garlic Herb Dutch Oven Bread
Baking a loaf of garlic herb Dutch oven bread is not only rewarding but also a fantastic way to fill your home with mouthwatering aromas. Plus, simple ingredients come together to create something extraordinary. Here’s what you’ll need:
- Flour: All-purpose flour works best for that perfect rise and chewy texture.
- Yeast: Active dry yeast will bring the magic to life, allowing your dough to rise beautifully.
- Salt: Enhances the flavor—don’t skimp! A pinch can make all the difference.
- Water: Warm water activates the yeast, helping your dough to rise.
- Olive Oil: Adds richness and flavor; a drizzle works wonders.
- Garlic: Fresh minced garlic infuses the bread with that robust garlic flavor.
- Herbs: A mix of dried herbs like rosemary and thyme will elevate the bread to the next level.
Discover more about the different types of bread flour on King Arthur Baking. Also, check out this great guide on how to store garlic to get the best flavor out of your ingredients! With these ingredients, you’re well on your way to impressing friends and family with your very own garlic herb Dutch oven bread.
Step-by-step Preparation of Garlic Herb Dutch Oven Bread
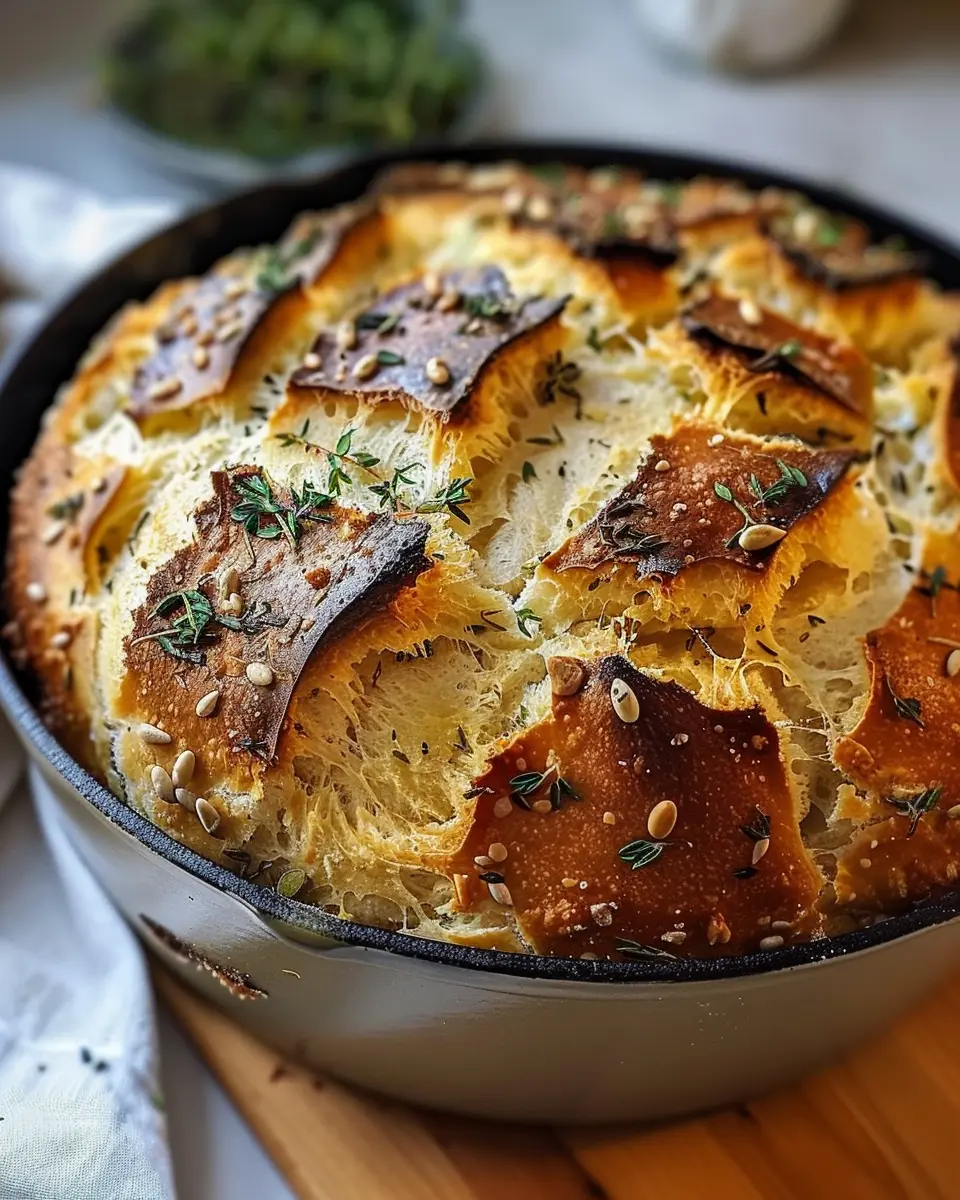
Baking can be intimidating, but making garlic herb Dutch oven bread is an excellent way to dive into the world of bread-making. It’s uncomplicated, requires minimal ingredients, and the payoff is a beautifully crusty loaf with a soft, airy interior, infused with the robust flavors of garlic and fresh herbs. Let’s walk through this step-by-step, shall we?
Gather your ingredients
Before you begin, make sure to gather all your ingredients to ensure a smooth baking process. You’ll need the following:
- 3 cups all-purpose flour
- 1 ½ teaspoons salt
- ½ teaspoon instant yeast
- 1 ½ cups warm water
- 4-5 cloves of garlic, minced (adjust to taste)
- 1 tablespoon fresh herbs (such as rosemary, thyme, or parsley)
Feel free to use dried herbs if fresh ones aren’t available, but fresh will really take your bread to the next level.
Mix the dry ingredients
In a large mixing bowl, combine the flour, salt, and instant yeast. Mixing these together ensures even distribution of flavors and helps your bread to rise consistently. A whisk works great here, but you can also use a fork or a spoon.
Incorporate the garlic and herbs
Next, fold in the minced garlic and your chosen fresh herbs into the dry mixture. This is where the aroma begins to build, and you might find yourself holding back from tasting the blend. The warm notes of garlic and the fragrant herbs will permeate your bread as it bakes.
Combine with water
Once the garlic and herbs are intertwined with the dry mix, it’s time to add the water. Pour in the warm water gradually while stirring with a wooden spoon or spatula. You want a shaggy, sticky dough that comes together without leaving dry flour behind. If you see some dry bits, splash in a bit more water; you want a dough that’s moist but manageable.
Let it rise
Cover your mixing bowl with a clean kitchen towel or plastic wrap. Allow the dough to rise at room temperature for about 12-18 hours. This long rise time is key to developing flavor and gluten, giving your garlic herb Dutch oven bread its pleasing texture.
Shape the dough
Once the dough has risen and looks puffy with bubbles on the surface, it’s time to shape it. Lightly flour your work surface and turn the dough out onto it. With floured hands, gently stretch and fold the dough to create surface tension. Don’t overdo it; you want to retain those air bubbles for a lovely crumb structure.
Preheat your Dutch oven
While you’re shaping your dough, preheat your oven to 450°F (232°C) and place your empty Dutch oven inside. Preheating the Dutch oven is essential because it ensures that your bread has a beautiful crust from the moment it hits the pot.
Bake the bread
Carefully remove the hot Dutch oven from the oven (use oven mitts, please!), and gently place the dough inside. Cover with the lid and bake for 30 minutes. After that, remove the lid and bake for an additional 15-20 minutes until the crust is golden brown. The aroma will be tantalizing, and you’ll be tempted to peek, but resist the urge until it’s fully baked!
Conclusion
And there you have it—your garlic herb Dutch oven bread is ready to be savored! The wonderful smell will entice anyone nearby, and the combination of crispy crust and soft interior will make this loaf a favorite. Serve it warm with butter or alongside your favorite soup or salad. Baking bread at home can be deeply rewarding, not just because of the delicious results but also through the comforting act of creating something from scratch.
For more tips on bread-making or inspiration for pairings, check out resources on sites like King Arthur Baking or BBC Good Food! Happy baking!
Variations on Garlic Herb Dutch Oven Bread
Cheesy Garlic Herb Bread
Who doesn’t love the combination of cheese and garlic herb dutch oven bread? By adding your favorite gooey cheese, you elevate this bread to a whole new level. Here’s how to do it:
- Cheese Selection: Opt for melty cheeses like mozzarella or sharp cheddar. For a richer flavor, consider adding some grated Parmesan on top just before baking.
- Mix-in Option: Fold in cheese directly into the dough during the mixing stage for a delightful surprise with every bite.
- Topping: Once the bread is baked, sprinkle extra cheese on top and let it melt for a beautiful, delicious finish.
The result? A crusty, cheesy loaf that’s perfect for dipping into soups or accompanying your favorite pasta dishes.
Spicy Garlic Herb Bread with Chili Flakes
Craving a kick? Spice things up by incorporating chili flakes into your garlic herb dutch oven bread. Not only does this give your bread a nice heat, but it also enhances the flavor profile beautifully.
- Chili Flake Addition: Mix a teaspoon or more of chili flakes into the dough depending on your heat preference.
- Herb Pairing: Pair the heat with herbs like oregano or rosemary for a well-rounded flavor experience.
- Serving Suggestion: Serve this spicy bread alongside marinara sauce or as a side for grilled chicken.
Spicy bread can easily become a conversation starter—perfect for your next gathering!
These variations not only highlight the versatility of garlic herb dutch oven bread but also invite creativity in the kitchen. Whether you go cheesy or spicy, you’ll end up with a comforting loaf that everyone will love. For more inspiration on garlic bread variations, check out The Kitchn.
Cooking Tips and Notes for Garlic Herb Dutch Oven Bread
Baking garlic herb dutch oven bread can seem daunting, but with a few insider tips, you’ll find it rewarding and fun!
Use Fresh Ingredients
For the best flavor, opt for fresh herbs like rosemary or thyme. Dried herbs can work in a pinch, but nothing beats the aroma and taste of fresh.
Managing Dough Consistency
If your dough feels too sticky, adding a touch of flour can help. Remember, a well-hydrated dough is key for that perfect crust!
Preheat Your Dutch Oven
Always preheat your dutch oven while your dough is rising. This mimics a professional steam oven, ensuring a crispy crust that everyone loves.
Experiment with Variations
Feel free to switch up the flavor profile! Adding cheese or spices can transform your garlic herb dutch oven bread into something unique.
Social Sharing
Don’t forget to share your creations; it can be a great icebreaker at gatherings! Check out Serious Eats for more baking tips and tricks.
With these tips, you’re well on your way to impressing family and friends with your homemade bread!
Serving Suggestions for Garlic Herb Dutch Oven Bread
There’s something magical about that freshly baked garlic herb dutch oven bread wafting through your kitchen. But how do you elevate this delightful creation to the next level? Here are some scrumptious serving suggestions to make your meal unforgettable.
Perfect Pairings
-
Soups and Stews: This bread shines when served alongside hearty dishes like mushroom soup or lentil stew. The crusty texture and aromatic flavors complement the richness of these meals perfectly.
-
Dips and Spreads: Slice it up and serve with a variety of dips like hummus or a tangy yogurt-based spread. You could even whip up a savory spinach dip for a fun appetizer!
Creative Sandwiches
Transform your garlic herb bread into a delicious sandwich. Try turkey bacon, chicken ham, or even grilled vegetables for a fresh twist. Each bite will burst with flavor!
Side Adventures
If you’re feeling adventurous, consider this bread as a side for your charcuterie board. Pair it with your favorite cheeses and cured meats, and watch as your guests rave about your impressive spread.
For more tips on creating delicious meals, check out resources like America’s Test Kitchen for inspiration and expert advice. Happy baking!
Time Breakdown for Garlic Herb Dutch Oven Bread
When it comes to baking the perfect garlic herb dutch oven bread, understanding the time commitment is crucial. Here’s what you can expect:
Preparation time
You’ll need about 20 minutes for prep work. This includes gathering your ingredients like fresh herbs and garlic, mixing the dough, and getting everything ready for the first rise.
Rising time
The dough needs time to develop its flavors. Allow it to rise for approximately 1 to 1.5 hours at room temperature. This is where the magic happens—don’t rush it!
Baking time
Once the dough has risen, preheat your oven and bake the bread for 30-35 minutes. You’re going to love the aroma wafting through your kitchen!
Total time
In total, setting aside around 2 to 2.5 hours will give you a deliciously baked garlic herb dutch oven bread. It’s worth the wait for that warm, comforting loaf!
For additional tips on bread baking, you might want to check out King Arthur Baking for expert advice. Happy baking!
Nutritional Facts for Garlic Herb Dutch Oven Bread
When you bake your own garlic herb Dutch oven bread, it’s not just about the delightful aroma filling your kitchen—it’s also about understanding what’s in it! Here’s a quick rundown of the key nutritional facts you need to know to enjoy your delicious loaf guilt-free.
Calories
In a typical serving, you can expect around 180 calories. This makes it a fantastic option for those looking to enjoy a hearty bread without overindulging.
Protein
The garlic herb Dutch oven bread packs about 6 grams of protein per serving. This is a decent amount that can help keep you feeling full, especially when paired with your favorite spreads or toppings.
Sodium
With approximately 350 mg of sodium in each serving, it’s always a good idea to watch your intake, particularly if you’re on a sodium-restricted diet. However, making your own allows for better control over ingredients!
Baking garlic herb Dutch oven bread is not just a culinary adventure, but also a chance to nourish your body with wholesome ingredients. If you’re eager to learn more about healthy bread options, check out sources like Healthline for informative articles on nutrition!
FAQs about Garlic Herb Dutch Oven Bread
Can I use whole wheat flour instead of all-purpose flour?
Absolutely! Substituting whole wheat flour for all-purpose flour in your garlic herb Dutch oven bread is a great choice if you’re aiming for a more nutritious loaf. Just keep in mind that whole wheat flour has a higher protein content, which might affect the bread’s rise and texture. For best results, consider mixing in half whole wheat and half all-purpose flour to maintain a light texture while gaining that lovely nutty flavor.
How can I tell if the bread is done?
Knowing when your garlic herb Dutch oven bread is perfectly baked can be tricky, but it’s easier than you think. Here are a few tips:
- Color and Texture: Look for a golden-brown crust. The bottom should sound hollow when tapped.
- Internal Temperature: Use a kitchen thermometer; bread is done when it reaches around 200°F (93°C) internally.
- Cool Down: Let it rest for about 10-15 minutes after baking. This allows the bread to finish cooking from residual heat.
Can I add more herbs or flavors to the bread?
Of course! One of the best parts about making garlic herb Dutch oven bread is its versatility. Feel free to mix in your favorite herbs, such as basil, thyme, or rosemary, to customize the flavor to your preference. You can even experiment with add-ins like sun-dried tomatoes, olives, or a sprinkle of cheese. Just remember not to overload it too much to avoid extra moisture that can affect the texture.
For tips on herb pairing and additional recipes, check out sources like The Spruce Eats for inspiration. Enjoy your baking!
Conclusion on Garlic Herb Dutch Oven Bread
Baking garlic herb Dutch oven bread is not just about following a recipe; it’s an experience that enriches your culinary journey. Picture yourself pulling that golden-brown loaf from the oven, the aroma wrapping around you like a warm hug. It’s perfect for a cozy dinner or a casual gathering with friends.
Plus, it’s a delightful option for meal prep or sandwiches using turkey bacon or chicken ham. You’ll find that the delicious flavors and perfect crust will leave everyone asking for seconds. For more tips on achieving bread perfection, check out the Bread Baker’s Apprentice for expert techniques, and consider visiting sites like King Arthur Baking for fantastic resources. Enjoy this artisanal creation, and don’t forget to share your baking adventures!
PrintGarlic Herb Dutch Oven Bread: The Easy Homemade Delight

A delicious recipe for making homemade garlic herb Dutch oven bread that is easy and delightful.
- Prep Time: 15 minutes
- Cook Time: 45 minutes
- Total Time: 12 hours
- Yield: 1 loaf
- Category: Bread
- Method: Baking
- Cuisine: American
- Diet: Vegetarian
Ingredients
- 3 cups all-purpose flour
- 1 1/2 teaspoons salt
- 1/2 teaspoon sugar
- 1 teaspoon dried herbs (such as thyme or oregano)
- 1 tablespoon minced garlic
- 1 1/4 cups warm water
- 1/4 teaspoon instant yeast
Instructions
- In a large bowl, combine the flour, salt, sugar, and dried herbs.
- In a separate bowl, mix the warm water, garlic, and instant yeast. Let sit for about 5 minutes.
- Pour the yeast mixture into the dry ingredients and stir until well combined.
- Cover the bowl with plastic wrap and let it sit at room temperature for 12 to 18 hours.
- After the dough has risen, preheat the oven to 450°F and place a Dutch oven inside to heat up.
- Once hot, carefully remove the Dutch oven and transfer the dough onto a floured surface, shaping it lightly.
- Place the dough into the heated Dutch oven, cover it, and bake for 30 minutes.
- Remove the lid and bake for an additional 15 minutes until golden brown.
- Let cool on a wire rack before slicing.
Notes
- For extra flavor, try adding different herbs or seasonings to the dough.
- Storing the bread wrapped in a cloth keeps it fresh longer.
Nutrition
- Serving Size: 1 slice
- Calories: 150
- Sugar: 0g
- Sodium: 250mg
- Fat: 1g
- Saturated Fat: 0g
- Unsaturated Fat: 1g
- Trans Fat: 0g
- Carbohydrates: 30g
- Fiber: 2g
- Protein: 5g
- Cholesterol: 0mg